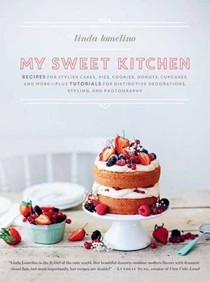
 My Sweet Kitchen: Recipes for Stylish Cakes, Pies,
Cookies, Donuts, Cupcakes, and More--Plus Tutorials for Distinctive
Decoration, Styling, and Photography by Linda Lomelino lives up
to the title. Gorgeous photographs, recipes and easy instructions
to not only bake these tempting treats but also style and
photograph (if we are so inclined) our creations.
My Sweet Kitchen: Recipes for Stylish Cakes, Pies,
Cookies, Donuts, Cupcakes, and More--Plus Tutorials for Distinctive
Decoration, Styling, and Photography by Linda Lomelino lives up
to the title. Gorgeous photographs, recipes and easy instructions
to not only bake these tempting treats but also style and
photograph (if we are so inclined) our creations.
In 2009, the Swedish author started her blog, Call Me
Cupcake, because cupcakes were all the rage at that time.
In starting the blog, she found out how fun baking could be.
Three cookbooks later, she has hit her stride - her books are
works of art and I'm already looking forward to Lomelino's Pies: A Celebration of Pies, Galettes,
and Tarts coming this September.
While paging through My Sweet Kitchen, I felt as if I were in a
beautifully appointed pastry shop where every detail is attended
to. Linda finds the perfect balance of dark haunting images of
perfectly styled desserts with bright pops of color and light. I
know that sounds contradictory but certain of the photographs are
beautifully stirring with dark backgrounds and hues yet with
glorious color and light. You will find yourself lost in the images
noticing every detail she has carefully crafted.
Each recipe has detailed instructions, techniques are set out
with step-by-step photographs and overall the book just made me
want to create these stunning desserts. The chapter on cake
decorating is genius - again with step-by-step photographs - that
truly have me believing that I can pipe a life-like rose atop a
cupcake or glaze a cake with perfectly imperfect streams of sugary
deliciousness oozing down the sides. The range of recipes would
satisfy any level of baker and the instruction on photographs,
backdrops, and styling makes this a double whammy for anyone who is
interested in food photography or wants to wow their guests with a
stunning presentation.
Special thanks to the author and Roost Books
for sharing the following dessert with our members which is easy to
create but appears like you spent the day slaving away in the
kitchen for your guests.
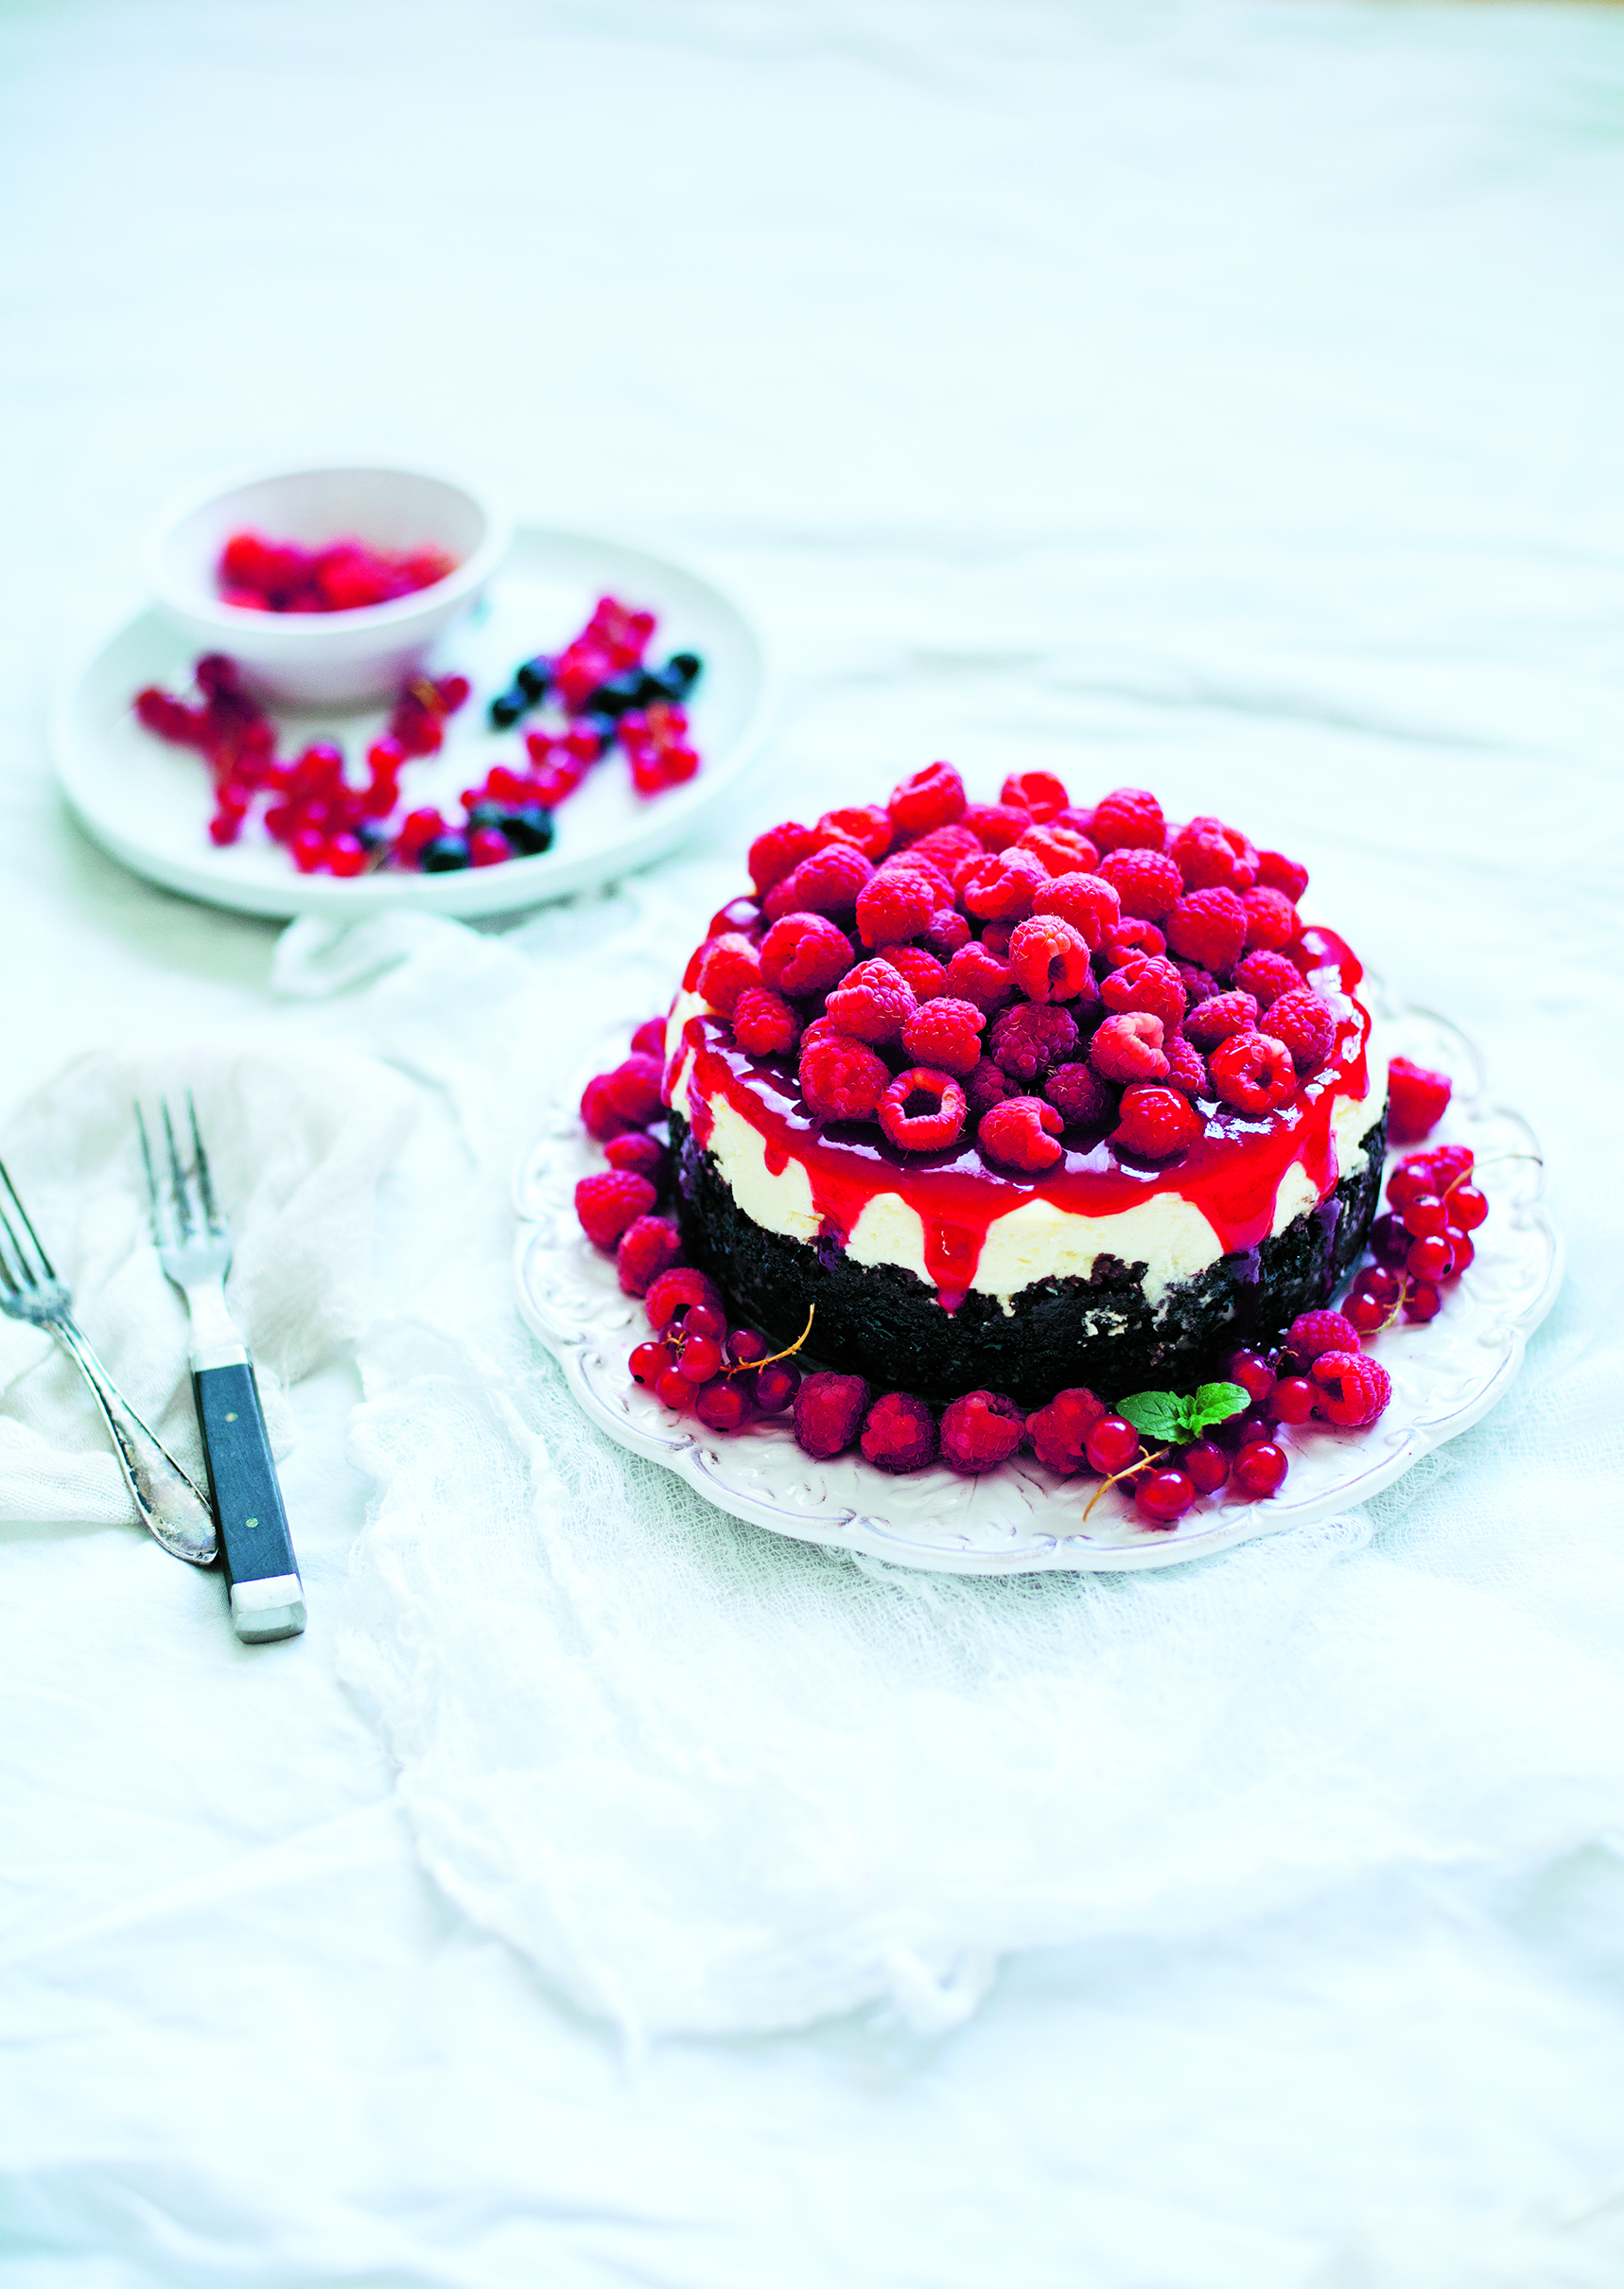
Raspberry and Oreo Cheesecake
8 to 10 slices
This recipe has simple components and a dramatic presentation.
If the ingredients for the filling are allowed to come to room
temperature beforehand, you'll get a fine cheesecake that doesn't
split or sink while baking. A note on equipment: You will need a
long pan, big enough to fit the cake pan inside, for the bain-marie
baking.
Cookie Base
4 tablespoons salted butter
7 ounces Oreo cookies (or Ballerina cookies, available at IKEA
or Swedish import shops)
Cheesecake Filling
21 ounces cream cheese, at room temperature
¾ cup granulated sugar
Finely grated zest of 1 lemon
1 tablespoon freshly squeezed lemon juice
2 eggs, at room temperature
⅔ cup sour cream, at room temperature
1 tablespoon all-purpose flour
Raspberry Sauce
5¼ ounces raspberries, fresh (or thawed frozen)
¼ cup + 2 tablespoons water
¼ cup granulated sugar
1 teaspoon vanilla extract, or ¼ teaspoon vanilla powder
2 teaspoons cornstarch
4½ ounces fresh raspberries, for garnish
Making the Cookie Base
1. Preheat the oven to 325°F.
2. Melt the butter. Pulse the cookies into fine crumbs in a
blender or food processor. Add the butter and pulse. Press the
cookie mixture into the bottom and partway up the sides of a 7-inch
springform pan. (You can use up to a 9½-inch pan, but the cake will
be much shallower.) Prebake the crust for 10 minutes. Remove from
oven and let cool.
3. Wrap the bottom of the cooled springform pan with two thick
layers of aluminum foil to prevent water from seeping into the pan
when the cheesecake bakes in the bain-marie.
Making the Cheesecake Filling
In a large bowl, beat the cream cheese, sugar, lemon zest, and
lemon juice into a creamy batter. Add the eggs and beat for another
minute. Beat in the sour cream and then sift the flour over the
batter. Continue beating until the batter is smooth and then pour
it over the cookie base in the springform pan.
Baking the Cheesecake
1. Bring a kettle of water to a boil. Set the springform pan
in a long baking pan and place in oven at 325°F. Pour the hot water
into the long pan so that it reaches halfway up the springform
pan.
2. Bake for 50 to 80 minutes (the smaller the pan diameter,
the less baking time is needed), until the cheesecake is firm
around the edges but still slightly wobbly in the middle. Turn off
the heat and leave the cheesecake in the oven for 1 more
hour.
3. Remove the springform pan from the oven and the water bath and
let the cheesecake cool completely in the pan. Refrigerate the
cheesecake (still in the springform pan) for 6 to 8 hours.
Making the Raspberry Sauce
1. Stir together the raspberries, water, sugar, and vanilla in a
saucepan. Mash the raspberries with a fork and bring the mixture to
a boil over medium heat.
2. Stir the cornstarch with a little water in a small bowl
until dissolved. Add to the raspberry mixture and stir well. Let
the mixture simmer until it thickens, stirring constantly to avoid
sticking to the bottom.
3. Press the sauce through a sieve over a small bowl and
discard the seeds. Let the strained sauce cool to room temperature
then refrigerate.
Decorating the Cheesecake
Remove the cheesecake from the refrigerator about 15 minutes
before serving. Carefully loosen the sides of the springform pan
and remove. Transfer the cake to a platter and garnish with the
raspberry sauce and fresh raspberries.
From My Sweet Kitchen: Recipes for Cakes, Pies,
Cookies, Donuts, Cupcakes, and More by Linda Lomelino © 2016.
Reprinted by arrangement with Roost Books, an imprint of Shambhala
Publications, Inc. Boulder, CO.

2 comments
hippiechick1955
Mrs. L